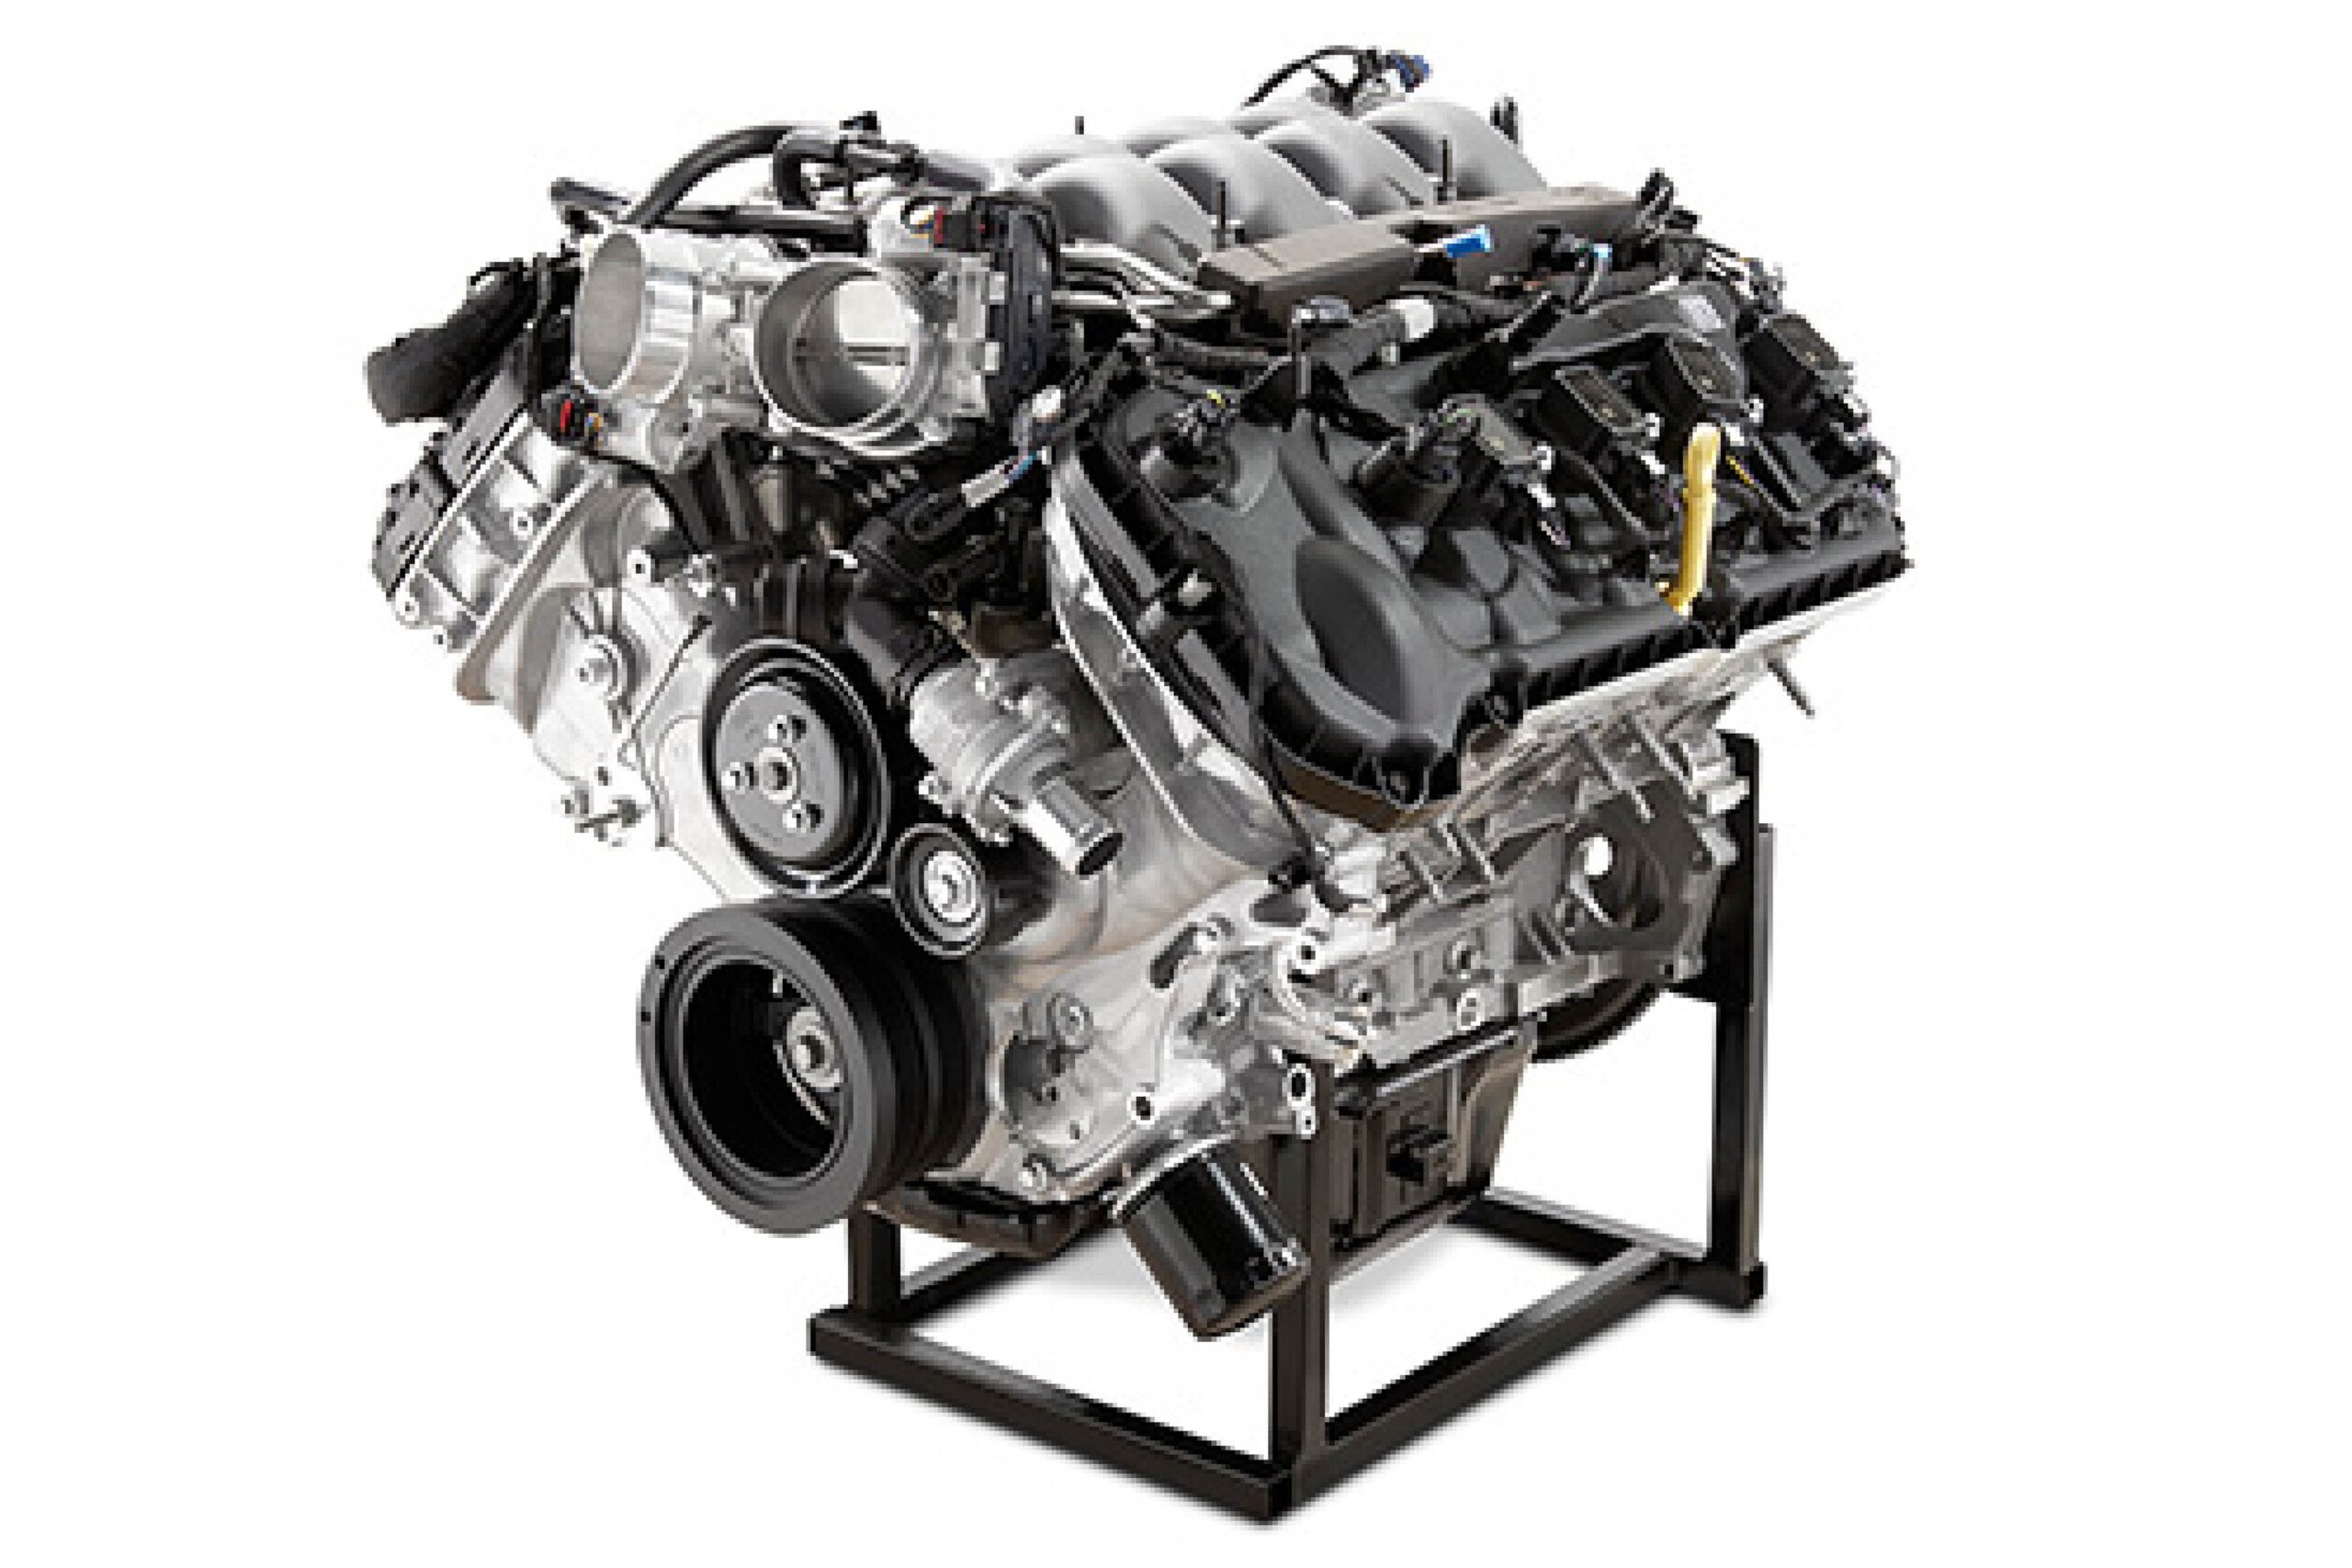
Things have been going great over here with good old Grandma – our 1978 Malibu getting an Edelbrock/Musi 555 crate engine. We’ve been waiting for a few more parts to come in and the UPS man is slowing delivering everything we need to finish the project. When we last left off Mike Ryan was installing a second Kirkey seat as well as a Chassis Engineering Parachute handle kit and TCI Roll Stop.
Now it was time to start taking some larger brush strokes.
On to the rear of the car: it was finally time to mount our brand new Currie F9 rear end. It didn’t take too long to mock the 9-inch into the back of our G-Body. Currie provided all the suspension mounting and installed on the rear end before we brought it back to the shop. All we had to do was fabricate a way to mount the QA1 rear coil over shocks, and the TRZ Anti-Roll Bar.
We had a bit of a problem on our hands. The TRZ Anti-Roll Bar and the QA1 Rear Shocks both needed to mount to a “cross bar” above the rear end. However, no matter how many times we player “Rubik’s Cube” we couldn’t figure out a way to get both bars in there without interference.
That’s when Ryan came up with the idea – a single bar that would mount the sway bar and the upper shocks. It was sweet, and we figured out a way to do it.
These three tabs accomplished that objective. The two tabs in front will mount the QA1 Rear Coil Overs. The tab on the top at an angle is the mounting tab for the TRZ Anti-Roll Bar mounting caps. By using a single bar like this it makes the installation much cleaner.
We will be further providing additional structure and rigidity to the shock bar by running outer connecting bars to the frame rail (visible on the left) as well as a bar straight up to the roll cage through the floor.
You’ll remember on the front of Granny we used QA1 Double Adjustable shocks along with our TRZ Front Suspension. You’ll notice we carried the same theme over the rear. We debated long and hard about whether to use the QA1 “bolt-in” rear shocks that go in the stock location, or use coil overs. At the end of the day, we felt that the coil-over would give us more suspension flexibility, coil-spring choices, ride height adjustments, and most importantly – it was still legal in most of the classes we could run – say NMCA Extreme Street or most drag radial classes.
With the help of QA1’s Corey Flynn we selected QA1’s Double-Adj Coil Over Shocks, #DDR-5855B. These come from the Proma Star line, and are specially designed for drag racing, are 576-way adjustable for both rebound and compression (12 clicks vs 12 clicks), and feature a CNC-machined Aluminum body and Teflon-lined bearings!
The 5855B’s feature the following measurements:
- 17-inch Extended Height
- 11-5/8-inch Compressed Height
- Ride Height: 13.25″ to 14.5
- Utilize a 12-inch Spring
We were somewhat guessing on the spring package. We picked a 170-lb linear rate 12-inch spring, 2.5-inch in diameter. It was QA1 PN #120-170. We thought about 150-lb rear springs, but aren’t sure of the total weight of the car, we think she’s going to be on the heavy side.
In this shot, you can see our final install of the QA1 Double-adjustable rear shock, as well as the shock mount/anti-roll bar mount. The reason we had this flexibility is two-fold.
#1 – The TRZ Anti-Roll bar mount can be rotated 360-degrees to mount to any piece of 1-5/8 tubing. That gave us the ability to rotate it and essentially “move” the location of the end link mounting points fore and aft.
#2 – You really do have a lot of flexibility on where the anti-roll bar links mount to your rear end. They can be in front, in back, or on top. As long as the anti-roll bar is level at ride height and the links are straight up and down. So this gives you some room to adjust. In our case, the links will be mounted almost on the top of the rear end, however, we will need to make some longer arms for the sway-bar.
We mounted the Billet Specialties Street Lite Wheels and M/T 295/65 Tires, and we’re going to shoot some more photos for you of the car once it gets lowered down “for good”. Until then, check out the “mock up” shots of what the wheel and tire combo will look like under the Malibu.
We selected 15 x 10 rear wheels with a 5.5-inch backspacing. We really like the Street Lite’s – not only are they SFI approved, but they have a very slick look that is light weight and modern. It’s a rotary forged aluminum center that goes along with a 360-degree welded 2-piece construction that gives the wheel it’s strength.
Totat weight on our 15 x 3.5 skinnies was less than 9-lbs each! We’ll shoot a bunch of beauty shots of the Billet wheels and post them up next week once we get the car rolling!
Here’s another shot of how we originally mocked up our Street Lite’s and M/T 295/65 Drag Radials. We were looking for a nice “tucked” look but also to maintain the correct rear stock suspension geometry that comes along from an optimized right height.
Now that the rear of the car has been moved along, Ryan has been finishing up the front end of our 1979 Malibu starting off with the core support. We bolted everything up, including the fenders, so that we could mock up the radiator and plan our mounting system.
We were going to use a Fluidyne Radiator, and we knew from Day 1 that we wanted to fabricate a new front core support. The stock core support was gangley, huge, and hard to work around. Plus, it was heavy. Ryan fab’d up this lightweight core support to hold the radiator, and also the front fenders would mount off of it.
The radiator we picked is probably a bit larger than we needed for a drag racing application, but with the hot conditions up at Bakersfield Raceway and Vegas where we would be competing, it wasn’t a bad idea. It’s Fluidyne’s 26-inch Universal Chevy radiator – single pass design that measured out at 26 wide x 19-inches tall, and is 2.5-inch deep. It’s comprised of 2-row, 1-inch tubes, and has a 100% brazed aluminum core. The coolest thing is the polished/TIG-welded tanks that feature the Fluidyne logo. Nice touch.
Although Fluidyne isn’t a custom-radiator shop, they have a number of universal radiators, as well as hundreds of bolt-in fitments, that are sure to fit your Ford, Chevy, NASCAR, Dirt Track or sport-compact application.
Here is the mounting tab system that Ryan designed – the stock GM one! Ryan simple cut off the stock mounting areas from the core support and welded the new core support tubing to the old mounting tab he cut out.
He also used the same style tabs to mount the core support to the frame of the car. Here is a couple shots of the car with the fenders installed, she look good huh?
The cardboard on the front and rear of the radiator is just taped there to protect the fins from being damaged while we are building the car.
All for now, check back next time for more Grandma updates!


